


Renovating 1970s Ranch Style Homes: A Complete Guide
Table of Contents
Why 1970s Ranch Homes Need Strategic Renovation
1970s Ranch Home Remodel Ideas: Interior and Exterior Transformation
Interior Updates That Preserve Character
Exterior Refreshes That Modernize Your Home
1970s Ranch Exterior Remodel Ideas: Curb Appeal and Energy Efficiency
Siding, Paint, and Material Upgrades
Windows, Roofing, and Entryway Improvements
Ranch House Renovation Cost: Budgeting Your Project
Typical Cost Ranges by Project Type
Budget Scenarios
Allocating Your Budget Wisely
Ranch House Renovation Checklist: Planning Your Phased Approach
Phase 1: Inspection, Permits, and 1970s-Specific Hazards
Phase 2: Structural and Energy Envelope Upgrades
Phase 3: Aesthetic Updates and Personalization
Modernizing Your Ranch While Preserving Its Timeless Appeal
Working With a Contractor: Transparency, Communication, and Results
Frequently Asked Questions
Last Updated: October 10, 2026
Why 1970s Ranch Homes Need Strategic Renovation
1970s ranch homes feature dated materials and inefficient systems, yet possess solid bones and character that newer construction can't replicate.
Homes that age well are approached with intention: address structural efficiency, energy performance, and modern lifestyle needs.
Address hidden problems, poor insulation, outdated electrical systems, roof integrity, and foundation issues, before aesthetic updates. This ensures visible improvements land on a solid foundation.
Pro Tip Start with an inspection by a structural engineer or experienced contractor before committing to any design decisions. Hidden issues in 1970s homes, asbestos, knob-and-tube wiring, settling foundations, can reshape your entire budget and timeline. Knowing what you're working with prevents expensive surprises mid-project.
1970s Ranch Home Remodel Ideas: Interior and Exterior Transformation
Renovating a 1970s ranch means making choices about what stays and what goes. The best projects preserve the home's character while addressing what no longer works. This means updating systems and materials without erasing the home's identity.

Interior Updates That Preserve Character
Remove popcorn ceilings and replace with smooth drywall or expose original wood beams, which add authentic character and feel cleaner and more spacious.
Refinish original hardwood or replace carpet with quality hardwood or engineered wood that matches the home's era for continuity.
Lighting is one of the highest-impact updates: add recessed lighting where appropriate, upgrade to modern fixtures that complement the home's proportions, and ensure bathrooms and kitchens have proper task lighting.
Exterior Refreshes That Modernize Your Home
Update exterior materials and colors without making the home look like it was built yesterday.
Paint is the fastest, most affordable update. Choose earth tones, soft grays, and warm neutrals that complement the home's proportions.
Landscaping has enormous impact: remove overgrown shrubs, add fresh mulch, and define the entryway.
Replace the front door with something modern but appropriate to the home's style and update the porch.
Key Takeaway The most successful 1970s ranch exterior remodels update materials and colors while maintaining the home's original proportions and setback. Avoid making it look like a completely different house, subtle modernization beats dramatic overhaul.
1970s Ranch Exterior Remodel Ideas: Curb Appeal and Energy Efficiency
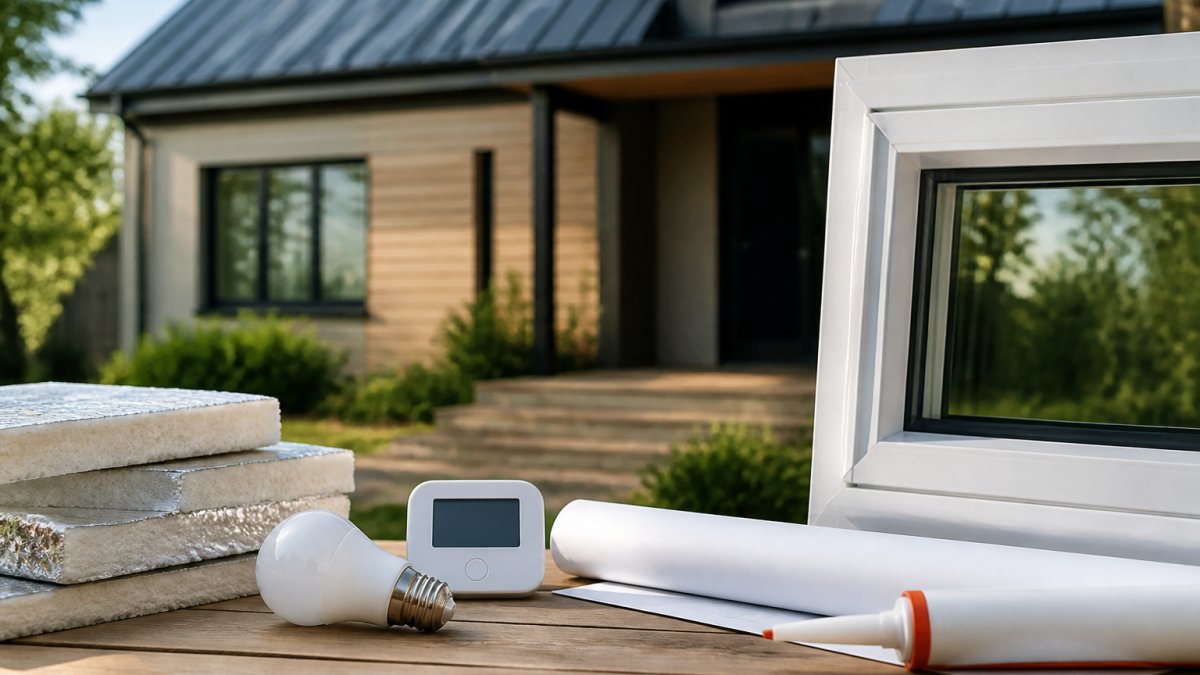
Curb appeal and energy efficiency are not separate goals, they're connected. Modern siding, windows, and roofing improve both how the home looks and how it performs.
House Tour of a Renovated 1970s Ranch Home in Phoenix Arizona | THELIFESTYLEDCO #ProjectCanIHaveThat
THELIFESTYLEDCO
Siding, Paint, and Material Upgrades
Original siding often needs replacement. Fiber cement board offers durability, weather resistance, and low maintenance.
Choose warm whites, soft grays, and earth tones that work with ranch proportions.
Updated trim in a contrasting or complementary color frames the home and defines its lines.
If the original home has brick, expose more of it rather than covering it, brick ages beautifully and connects the home to its era.
Windows, Roofing, and Entryway Improvements
Energy-efficient windows reduce heating and cooling costs while transforming appearance. Choose frames and styles that complement the home's character.
Roofing is a structural necessity that also affects appearance. If the roof is near the end of its life, replacement updates the home's profile.
A new front door, updated porch lighting, and refined landscaping create a welcoming entrance while reducing drafts and energy loss.
Ranch House Renovation Cost: Budgeting Your Project
Understanding typical ranges by project category helps allocate budget strategically and prioritize what matters most.
Typical Cost Ranges by Project Type
Exterior Updates (Curb Appeal Focus)
Paint and trim: $3,000-$8,000
Landscaping and entryway refresh: $2,000-$6,000
New front door and hardware: $1,500-$4,000
Siding and Roofing (Envelope Work)
Fiber cement siding replacement (1,500 sq ft): $12,000-$25,000
Roof replacement (1,500 sq ft): $8,000-$18,000
Gutter and fascia updates: $2,000-$5,000
Windows and Doors (Energy Efficiency)
Energy-efficient window replacement (8-12 windows): $6,000-$15,000
Weatherstripping and air sealing: $1,000-$3,000
Subtotal: $7,000-$18,000
Interior Flooring and Ceilings
Hardwood floor refinishing (1,200 sq ft): $2,400-$4,800
Popcorn ceiling removal and smooth drywall (1,200 sq ft): $1,500-$3,500
Carpet replacement (400 sq ft): $1,200-$3,000
Lighting and Fixtures
Recessed lighting installation (8-12 fixtures): $1,200-$3,000
Fixture upgrades throughout: $1,500-$4,000
Subtotal: $2,700-$7,000
Systems and Hidden Work (Phase 2 Priority)
Electrical panel upgrade: $1,500-$4,000
Plumbing repairs or updates: $2,000-$6,000
HVAC system replacement: $5,000-$12,000
Budget Scenarios
Conservative Refresh ($15,000-$30,000): Paint, landscaping, new door, lighting upgrades, and minor flooring. Addresses curb appeal and basic interior updates without structural or systems work.
Moderate Renovation ($40,000-$75,000): Adds siding or roof work, window replacement, ceiling updates, and some systems work (electrical, HVAC). Improves energy efficiency and durability alongside aesthetics.
Comprehensive Overhaul ($100,000-$180,000+): Full exterior envelope (siding, roof, windows), interior finishes, systems upgrades, and potential layout changes.
Allocating Your Budget Wisely
Prioritize structural and systems work first, even if it means delaying aesthetic updates. A home with a failing roof and outdated electrical is not a good investment, no matter how fresh the paint. A common allocation for a moderate renovation is roughly 40% to systems and structure, 35% to exterior envelope, and 25% to interior finishes and personalization.
Get multiple quotes for major work; contractors familiar with 1970s ranches often identify cost-saving opportunities.
Watch Out Avoid the temptation to cut corners on structural or systems work to save money for finishes. A beautiful kitchen in a home with an aging roof and poor insulation is a false economy. Fix the foundation, upgrade the electrical panel, and improve the envelope before decorating.
Budget 10-15% contingency for unexpected issues. 1970s homes often reveal hidden problems: settling foundations, outdated plumbing, or hazardous materials requiring professional abatement.
Ranch House Renovation Checklist: Planning Your Phased Approach
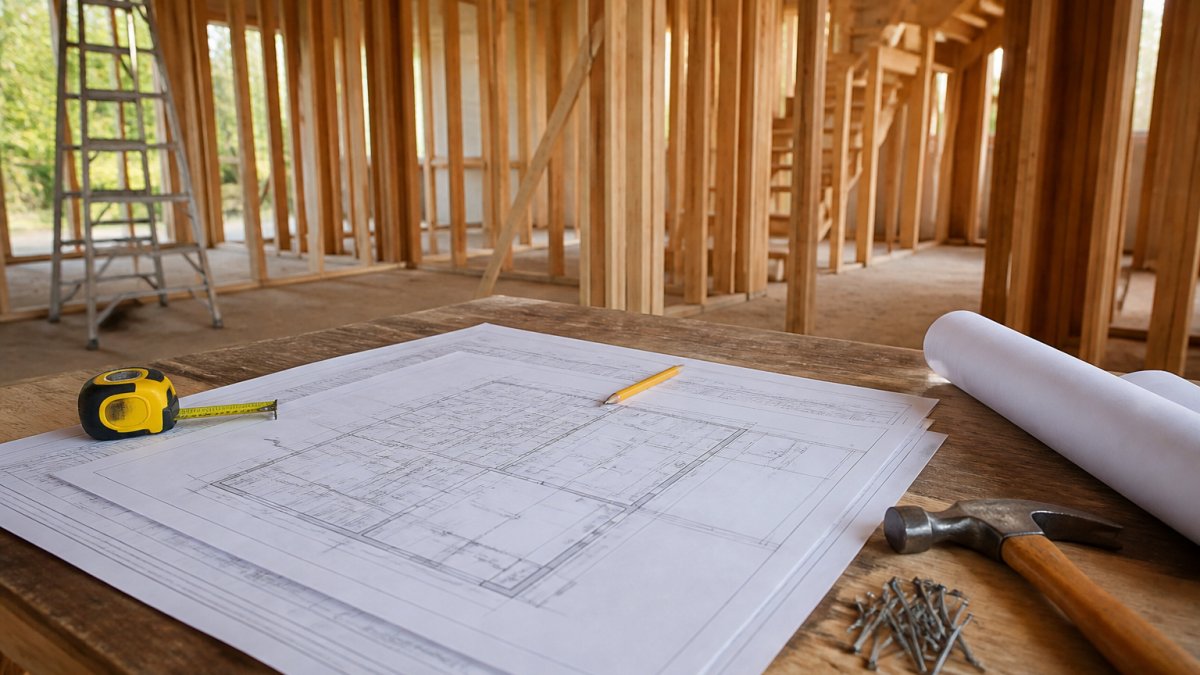
Breaking renovation into phases keeps costs manageable, prevents decision fatigue, and ensures you address hidden problems before investing in finishes.
Phase 1: Inspection, Permits, and 1970s-Specific Hazards
Hire a structural engineer or experienced contractor to inspect the home thoroughly before work starts. Early identification of 1970s-specific risks prevents costly surprises and health hazards.
Structural and Foundation Assessment
Look for foundation cracks wider than 1/4 inch, especially horizontal cracks or stair-step patterns in brick or block, which indicate settling or structural movement.
Check for sagging floors or uneven walls, common in homes with inadequate support posts or deteriorating rim joists.
Inspect the crawl space or basement for water intrusion, mold, or standing water, 1970s drainage and grading often fail to modern standards.
Asbestos and Hazardous Materials Asbestos was widely used in 1970s construction in insulation, floor tiles, pipe wrap, roofing shingles, and joint compound.
Electrical System Capacity and Safety
Check the main electrical panel for capacity. Many 1970s homes have 100-amp service; modern homes typically need 150-200 amps. Upgrading the panel costs $1,500-$4,000 but is necessary if you plan kitchen or bathroom upgrades or add circuits.
Look for knob-and-tube wiring (visible ceramic knobs and cloth-wrapped wire in attic or walls), which is a fire hazard and insurance liability. Replacement requires rewiring, a significant cost but essential for safety.
Check for double-tapped breakers (two wires in one breaker slot), a code violation that increases fire risk.
Plumbing Condition and Water Quality
Inspect visible pipes for corrosion, leaks, or mineral buildup. Galvanized steel pipes, common in 1970s homes, corrode from the inside and restrict water flow; replacement with copper or PEX costs $2,000-$6,000 depending on home size.
Test water pressure (should be 40-80 psi). Low pressure often indicates corroded pipes or failing pressure regulators.
Check for active leaks under sinks, in crawl spaces, or around the water heater. Water damage in 1970s homes often goes unnoticed until structural damage occurs.
HVAC System Age and Efficiency
Determine the age of the furnace and air conditioning unit. Systems older than 15-20 years are inefficient and prone to failure. A new HVAC system costs $5,000-$12,000 but reduces utility bills by 20-30% and improves comfort.
Check ductwork for leaks, disconnections, or poor insulation in unconditioned spaces (attic, crawl space). Leaky ducts waste 20-30% of conditioned air.
Insulation Levels and Air Sealing
Measure attic insulation depth. 1970s homes often have 2-4 inches; modern standards recommend R-38 to R-60 depending on climate zone. Adding insulation costs $1,000-$3,000 but pays for itself through energy savings.
Look for air leaks around windows, doors, electrical outlets, and penetrations (where pipes or wires enter walls). Sealing these costs $500-$2,000 and significantly improves comfort and efficiency.
Roof Condition and Remaining Lifespan
Inspect for missing, curled, or granule-loss shingles. Most asphalt roofs last 20-25 years; a 50-year-old roof is near or past its lifespan.
Check for sagging, which indicates structural issues or water damage in the decking.
Look for signs of leaks in the attic: water stains, mold, or soft spots in insulation.
Permits and Code Compliance Obtain necessary permits for structural work, electrical, plumbing, roofing, and any layout changes.
Phase 2: Structural and Energy Envelope Upgrades
Once hidden issues are identified, address them systematically:
Repair foundation issues (underpinning, crack sealing, drainage improvement)
Upgrade electrical panel and rewire if knob-and-tube or double-tapped breakers exist
Replace or repair plumbing (galvanized to copper or PEX conversion)
These upgrades are invisible but essential. They improve comfort, reduce utility costs by 20-40%, prevent future damage, and create a safe, code-compliant home. Phase 2 typically takes 4-12 weeks and represents 40-50% of total renovation budget.
Phase 3: Aesthetic Updates and Personalization
Once systems are solid, add the updates people see:
Paint interior and exterior
Update flooring (refinish hardwood, replace carpet, add tile)
Upgrade kitchen and bathrooms
This phase is where your home's personality emerges. It's also where you can make adjustments based on how the home has performed through Phase 2. Phase 3 typically takes 4-8 weeks and represents 25-35% of total renovation budget.
Phase | Focus | Timeline | Impact | Budget % |
Phase 1 | Inspection and permits | 2-4 weeks | Prevents costly surprises and safety hazards | 5-10% |
Phase 2 | Systems and structure | 4-12 weeks | Improves efficiency, safety, and durability | 40-50% |
Phase 3 | Aesthetics and personalization | 4-8 weeks | Creates your dream home | 25-35% |
Pro Tip Don't skip Phase 1 or rush Phase 2. A thorough inspection and systems-first approach prevents expensive problems later and ensures your aesthetic investments land on a solid, efficient foundation.
Modernizing Your Ranch While Preserving Its Timeless Appeal
The tension between old and new is where most renovations either succeed or stumble. Successful projects respect what made the home appealing in the first place.
1970s ranches have clean lines, honest proportions, and a sense of space. Modernizing means updating materials and systems without erasing that character.
Avoid making it look like something it's not. A ranch needs to be an updated version of itself, not a farmhouse or contemporary.
Working With a Contractor: Transparency, Communication, and Results
Look for a contractor with experience renovating 1970s homes, not just building new construction.
The best contractors listen, understand your priorities and budget, communicate regularly, and alert you to issues before they become expensive problems.
Ask potential contractors for references from similar projects, how they handle cost overruns, and about their timeline. The answers tell you whether they're the right fit.
Renovating a 1970s ranch home is an opportunity to honor the home's history while creating a space that works for modern life. The homes that age best are the ones where owners invested in quality systems and thoughtful design choices. Bpa John Andrews has helped homeowners navigate these decisions for nearly three decades, combining structural expertise with a commitment to energy efficiency and sustainable design.
Frequently Asked Questions
What should you check before remodeling a 1970s ranch home?
Before starting renovations, hire a professional home inspector to identify structural issues, asbestos, lead paint, outdated electrical systems, and plumbing concerns common in 1970s ranch homes. Check for foundation cracks, roof condition, and HVAC efficiency. Review local building codes and permit requirements for your area. Understanding these issues upfront prevents costly surprises during construction and helps your contractor plan the renovation properly.
How much does it cost to renovate a 1970s ranch-style home?
Ranch house renovation costs vary significantly based on scope, location, and materials. A minor refresh of paint, landscaping, and fixtures costs less than a full interior remodel or exterior siding replacement. Energy-efficient upgrades like new windows and insulation add to the budget but reduce long-term utility costs. For accurate pricing tailored to your specific project, consult with an experienced contractor who can assess your home's condition and provide a detailed estimate.
Can you add an addition to a 1970s ranch home that looks like part of the original design?
Yes, but it requires careful planning. Match the roof pitch, siding materials, window styles, and proportions of the original ranch structure. Work with a contractor experienced in ranch-style homes who understands the design language of the era. Seamless additions maintain the home's original aesthetic while providing modern functionality. A skilled designer can ensure the addition feels intentional rather than tacked on.
What's the best way to modernize a 1970s ranch home without losing its character?
Focus on updates that enhance rather than erase the home's era-appropriate features. Preserve original wood beams, tongue-and-groove ceilings, and architectural details while refreshing finishes, colors, and systems. Update the exterior with modern materials in classic colors, improve landscaping for curb appeal, and upgrade interiors with contemporary comfort. The goal is blending timeless style with energy efficiency and livability, keeping the ranch's fundamental charm intact.
Book Online

Comments